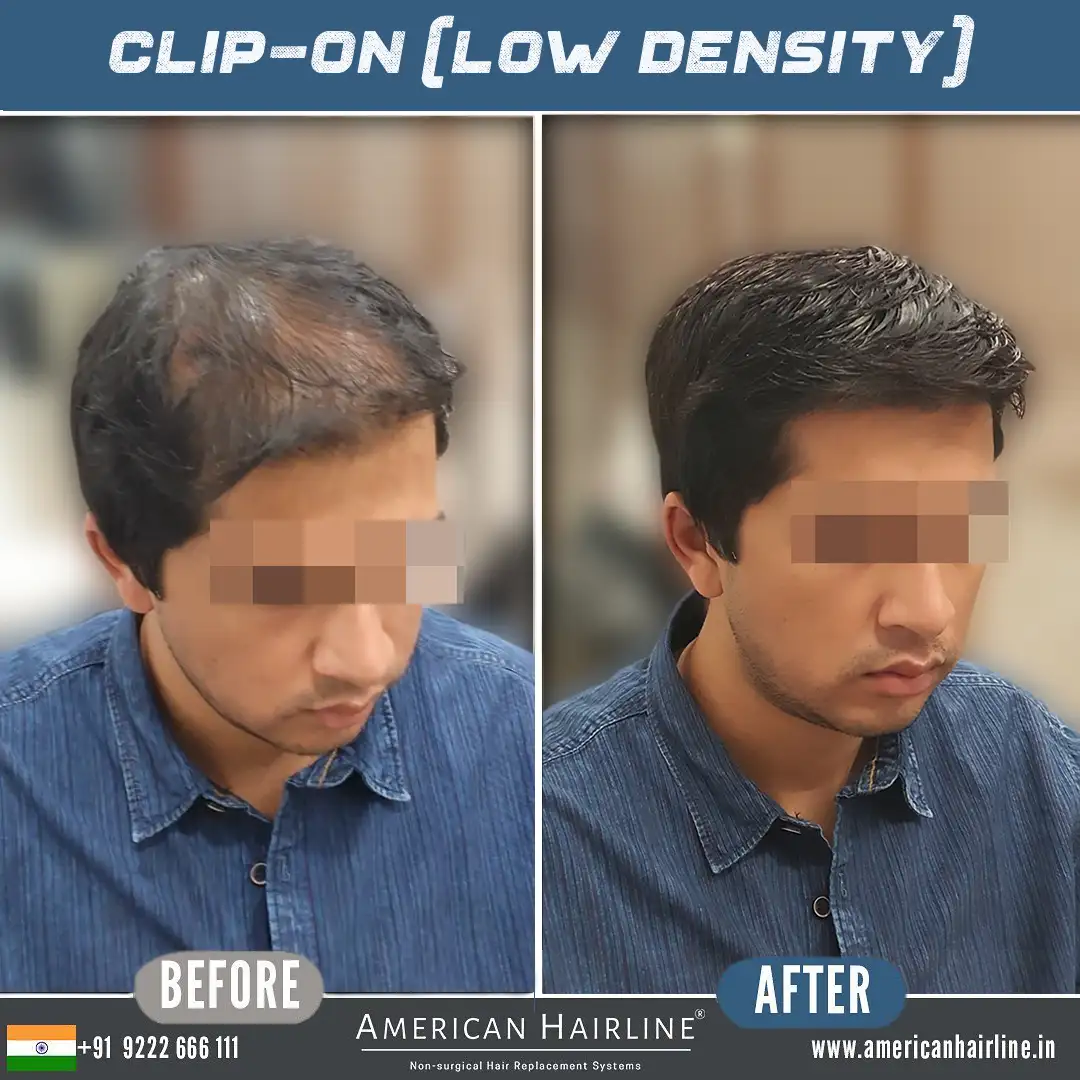
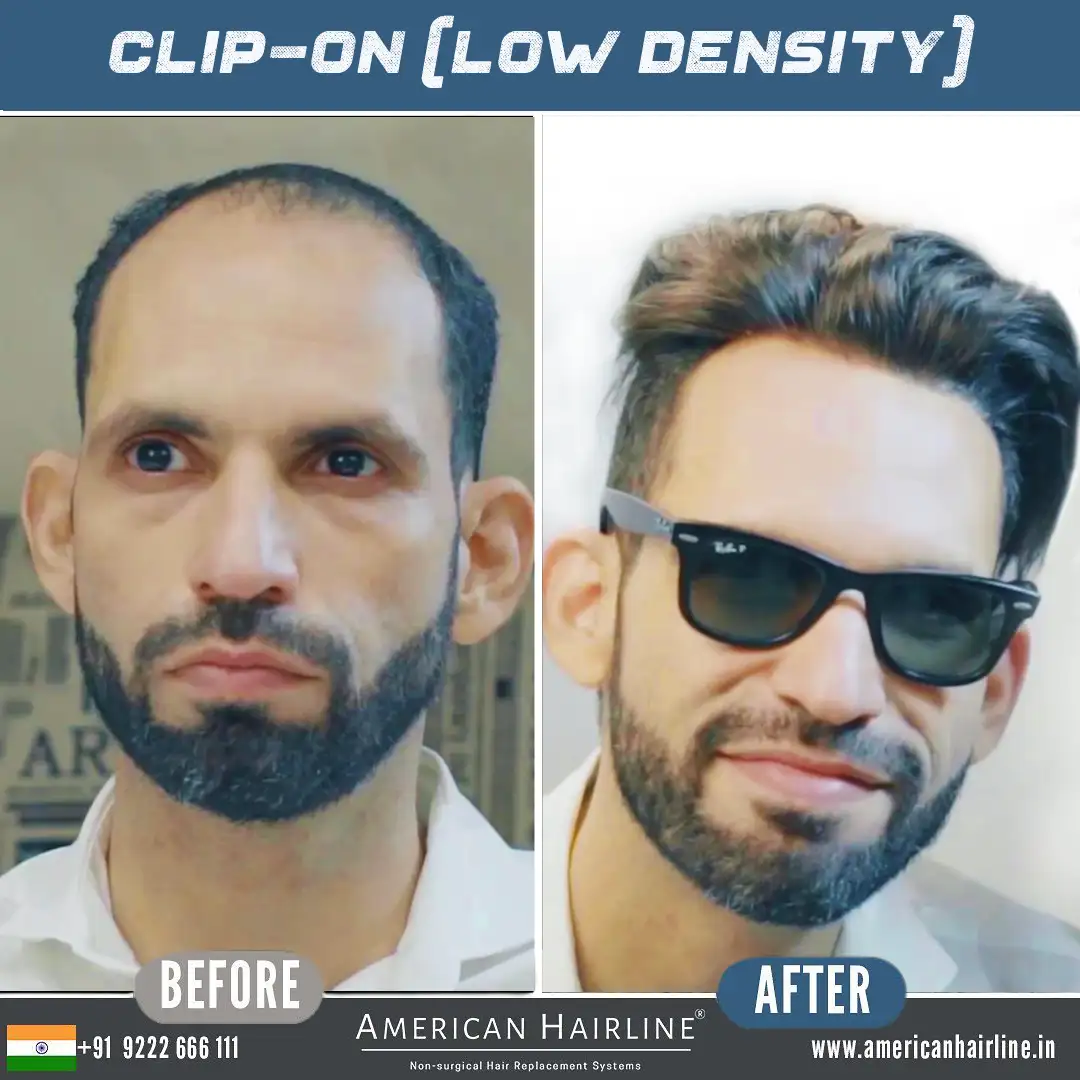
Every individual worry about his hair replacement system coming off at the most unexpected place and timing. Whether you are into swimming or adventure sports, or work out regularly, you may be most anxious about the hair system bond loosening. For these reasons, we are sharing this article with you to help achieve a strong/ secure bond to prevent it from coming off!
| Table of Contents |
| Preparing the scalp for the hair system |
| Tape adhesive for bonding hair systems |
| Liquid adhesive for attaching hair systems |
Preparing the scalp for the hair system
The most important factor in preparing for the attachment is to have a scalp that is thoroughly clean and dry, or else the hair replacement system will not stay securely. Ensure your scalp is spotlessly clean by using a cleansing mask or scrub and trim or shave the area that will be covered by the hair patch.
In case you have just taken off your hair system, remove any traces of oil or leftover residue with a citrus adhesive remover. Finish by rubbing isopropyl alcohol to remove any adhesive residue.
Once the scalp is perfectly clean, you decide which adhesive you want to use. This will depend on the following factors:
- The hair system base material.
- How frequently you will be removing your hair system for maintenance?
- How active is your lifestyle, e.g. if you are into high-intensity activities where you perspire a lot?
- How sensitive is your skin
Tape adhesive for bonding hair systems
Usually, tape adhesive is suitable for people who wish to remove their hair systems frequently. However, extended wear tape does hold up for 3 to 4 weeks, which is as good as using a strong liquid adhesive.
The basic steps for bonding with tape are:
- Remove one side of the double–sided tape to stick it onto the base.
- Apply the tape all around the perimeter of the hair replacement system or over the complete base if that’s what you prefer.
- Now remove the other side of the double-sided tape to stick to the scalp.
- Position the hair system in place from the front and roll it back over the scalp and avoid any hair getting caught in the tape.
- Secure it in place to ensure it’s placed firmly over the taped areas. Make sure to smoothen any bumps.
- The hair system is now fitted. All you need to do is style it a bit and you’re good to go!
In case, you’re wearing a lace hair system, we suggest you remove it every five days and clean it. Wearing the hair system for longer can cause the adhesive residue to break down and seep through the lace.
Liquid adhesive for attaching hair systems
The main advantage of using a liquid adhesive is that it can be easily applied. Follow the steps below to apply glue adhesive:
- Apply a thin layer of liquid adhesive on your scalp with the help of a suitable brush.
- Also, apply a thin layer on the back side of your hair system. If your hair system has a lace base with a polyurethane perimeter, apply the adhesive to the perimeter only.
- Ensure both surfaces are totally dry.
- Position the front of the hair system in place first and join both surfaces together.
- Roll back the hair system over the scalp and press firmly.
If you are using a hair system with a lace front hairline all steps above can be followed BUT never apply adhesive to the front hairline. The rest we will share this with you in our next blog in detail.
For further assistance in non-surgical hair replacement systems please call or WhatsApp at +91 9222666111.

